Introduction
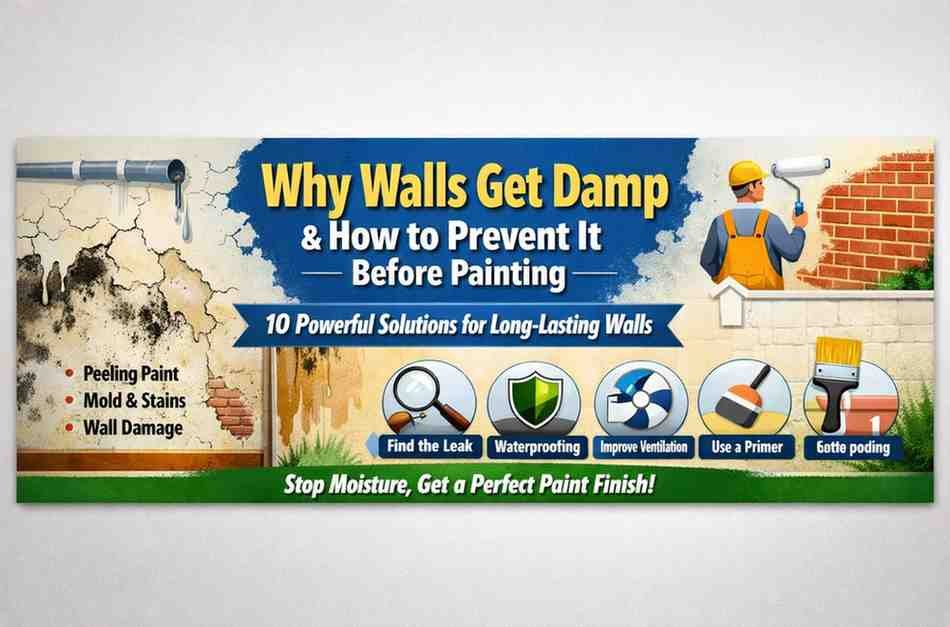
Dampness in walls is one of the most common and frustrating problems faced in homes, offices, and industrial spaces. It not only damages the appearance of walls but also weakens the structure over time. Many people invest in painting their walls, only to see stains, bubbles, or peeling paint appear within a few months. This happens because the root cause—wall dampness—was not treated properly before painting.
Understanding why walls get damp and how to prevent it before painting is essential for achieving a durable, smooth, and long-lasting finish. Dampness is not just a surface issue; it is often a deeper problem related to moisture, leakage, or environmental conditions. If ignored, it can lead to mold growth, foul odor, and even health issues.
In this detailed guide, we will explore the causes of wall dampness, its effects, and most importantly, practical and professional solutions to prevent it before painting.
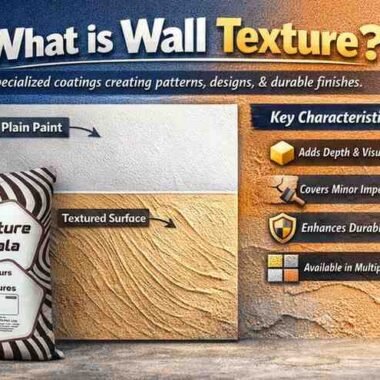
What is Wall Dampness?

Wall dampness refers to the presence of unwanted moisture within walls. This moisture can come from external sources like rain or internal sources such as plumbing leaks or humidity.
Key Signs of Damp Walls
- Peeling or bubbling paint
- Dark patches or stains
- White powder deposits (efflorescence)
- Mold or fungal growth
- Musty smell in the room
These signs indicate that moisture is trapped inside the wall, which can ruin any paint finish if not treated properly.
Why Walls Get Damp – Main Causes Explained
Understanding the root causes is the first step in solving the problem.
1. Water Leakage
Water leakage from pipes, roofs, or external walls is a major reason for dampness.
- Broken or leaking pipes inside walls
- Roof cracks allowing rainwater entry
- Seepage from bathrooms or kitchens
👉 Even a small leak can cause long-term damage if ignored.
2. Poor Waterproofing
Walls without proper waterproofing are highly vulnerable to moisture.
- External walls exposed to rain
- Improper sealing during construction
- Lack of protective coatings
👉 Without waterproofing, water easily penetrates walls.
3. Rising Damp from Ground
Moisture from the ground can travel upward through walls.
- Common in ground floor walls
- Happens due to poor damp-proof course (DPC)
- Leads to stains and wall weakening
4. High Humidity Levels
Indoor humidity also contributes to dampness.
- Poor ventilation
- Cooking, bathing, and washing activities
- Closed rooms with no airflow
👉 Moist air settles on walls and causes damp patches.
5. Cracks in Walls
Cracks act as entry points for water.
- Structural cracks
- Surface cracks due to temperature changes
- Gaps around windows and doors
6. Poor Construction Quality
Low-quality materials or improper construction techniques can lead to dampness.
- Weak plastering
- Improper curing
- Low-quality materials
Effects of Damp Walls
Ignoring dampness can lead to serious issues:
1. Damage to Paint Finish
- Peeling and flaking
- Blistering and bubbling
- Uneven color appearance
2. Structural Damage
- Weakening of walls
- Cracks and deterioration
- Reduced lifespan of the building
3. Health Problems
- Mold and fungus growth
- Allergies and respiratory issues
- Unhealthy indoor environment
How to Prevent Dampness Before Painting – 10 Expert Solutions
To achieve a long-lasting paint finish, it is essential to treat dampness before painting.
1. Identify the Source of Moisture
Before applying any solution, find the root cause.
- Check for leaks in pipes and roofs
- Inspect external walls for cracks
- Look for moisture-prone areas
👉 Treating the cause is more important than hiding the problem.
2. Fix All Leakages Immediately
- Repair leaking pipes
- Seal roof cracks
- Fix bathroom seepage
👉 Painting without fixing leaks will lead to repeated damage.
3. Ensure Proper Waterproofing
Waterproofing is one of the most effective solutions.
- Apply waterproof coatings on external walls
- Use protective layers in wet areas
- Seal joints and gaps properly
👉 This prevents water from entering the walls.
4. Repair Wall Cracks
Cracks should be sealed before painting.
- Fill minor cracks with suitable fillers
- Repair structural cracks professionally
- Seal gaps around windows and doors
5. Improve Ventilation
Proper airflow reduces humidity.
- Open windows regularly
- Use exhaust fans in kitchens and bathrooms
- Ensure cross ventilation
👉 Dry walls are less likely to develop dampness.
6. Use Damp-Resistant Treatments
Apply specialized treatments to protect walls.
- Anti-damp coatings
- Moisture-resistant layers
- Protective sealants
👉 These create a barrier against moisture.
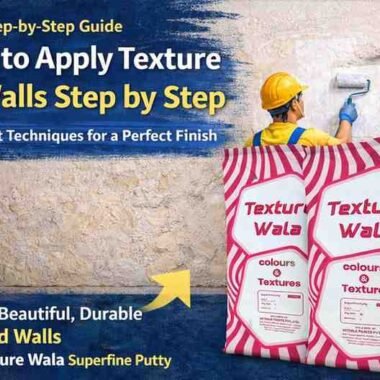
7. Apply Proper Wall Preparation
Surface preparation is crucial before painting.
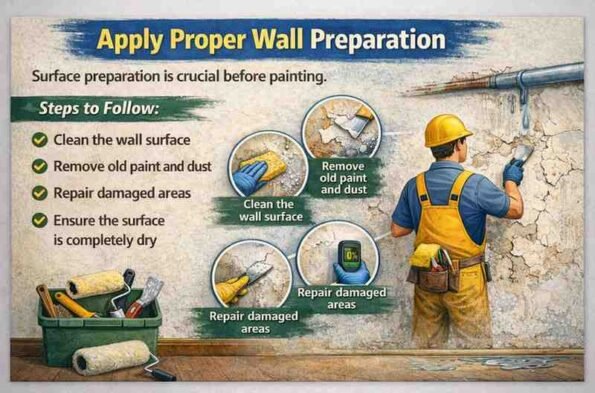
Steps to Follow:
- Clean the wall surface
- Remove old paint and dust
- Repair damaged areas
- Ensure the surface is completely dry
8. Use Primer Before Painting
Primer improves adhesion and protects walls.
- Seals the surface
- Prevents moisture penetration
- Enhances paint durability
👉 Skipping primer is one of the biggest mistakes.
9. Allow Sufficient Drying Time
Never paint on damp walls.
- Ensure walls are completely dry
- Wait after repairs or waterproofing
- Avoid painting during rainy conditions
10. Choose the Right Paint System
Selecting the right type of paint is important.
- Use moisture-resistant paints
- Choose high-quality finishes
- Ensure compatibility with wall conditions
Professional Tips for Long-Lasting Results
- Always inspect walls before painting
- Never ignore small damp patches
- Use proper tools and techniques
- Follow a complete system (prep + primer + paint)
- Regularly maintain walls
Common Mistakes to Avoid
Avoiding these mistakes is crucial if you want a smooth, durable, and long-lasting paint finish. Even small errors during preparation or painting can lead to major problems later.
1. Painting Directly Over Damp Walls
One of the most common and damaging mistakes is applying paint on damp or wet surfaces.
- Moisture trapped inside the wall prevents paint from adhering properly
- Leads to peeling, bubbling, and patchy finish
- Paint may start coming off within weeks
👉 What to do instead:
Always ensure the wall is completely dry before painting. Use proper drying time after repairs or waterproofing.
2. Ignoring the Source of Moisture
Many people try to hide dampness by repainting instead of fixing the root cause.
- Covers the problem temporarily but does not solve it
- Moisture continues to damage the wall from inside
- Results in repeated repair and repainting costs
👉 What to do instead:
Identify the exact source of moisture—whether it is leakage, seepage, or humidity—and fix it permanently before painting.
3. Skipping Waterproofing
Waterproofing is often ignored to save time or cost, but this leads to long-term damage.
- Walls remain exposed to water penetration
- External walls absorb rainwater easily
- Increases chances of damp patches and paint failure
👉 What to do instead:
Apply proper waterproofing solutions, especially on exterior walls, terraces, and moisture-prone areas.
4. Using Low-Quality Materials
Using poor-quality paint or materials can ruin the entire finish.
- Low adhesion leads to faster peeling
- Poor resistance to moisture and weather
- Color fades quickly and surface looks dull
👉 What to do instead:
Choose high-quality, durable materials that offer better protection and long-lasting performance.
5. Not Allowing Proper Drying Time
Rushing the painting process is a major mistake.
- Painting on semi-dry surfaces traps moisture
- Causes uneven finish and weak bonding
- Reduces overall lifespan of paint
👉 What to do instead:
Allow sufficient time between each step:
- After repairing cracks
- After waterproofing
- After applying primer
6. Skipping Surface Preparation
Painting without preparing the wall properly leads to poor results.
- Dust, grease, or old paint affects adhesion
- Uneven surfaces result in patchy finish
- Hidden defects remain untreated
👉 What to do instead:
Always follow proper preparation:
- Clean the surface
- Remove loose paint
- Repair damages
7. Not Using Primer
Skipping primer is a very common but costly mistake.
- Paint does not bond properly to the wall
- Moisture can penetrate easily
- Finish becomes uneven and less durable
👉 What to do instead:
Always apply a suitable primer before painting to ensure better adhesion and protection.
8. Painting in Wrong Weather Conditions
Environmental conditions play a big role in paint performance.
- High humidity slows drying
- Rainy conditions increase moisture
- Extreme heat can cause cracks
👉 What to do instead:
Choose the right time for painting:
- Avoid rainy or extremely humid days
- Ensure moderate temperature and airflow
Future Impact of Proper Damp Prevention Before Painting
Taking the right steps for damp prevention before painting is not just a temporary solution—it is a long-term investment in durability, performance, and overall property value. When walls are protected from moisture at the initial stage, it ensures better results, fewer repairs, and a healthier environment.
Proper damp prevention before painting directly influences how your walls look, how long they last, and how much maintenance they require over time.
1. Long-Lasting Paint Finish
One of the biggest advantages of damp prevention before painting is achieving a durable and long-lasting paint finish.
When walls are completely dry and moisture-free, paint bonds effectively with the surface. This strong adhesion ensures that the paint performs as expected without early damage.
Benefits include:
- Prevents peeling, flaking, and bubbling of paint
- Maintains a smooth and uniform finish
- Keeps colors vibrant and fresh for a longer time
- Reduces chances of patchy or uneven appearance
👉 A properly prepared dry surface ensures your paint lasts for years instead of fading or damaging within months.
2. Better Wall Strength
Moisture is one of the biggest enemies of wall strength. Without proper damp prevention before painting, water can seep into walls and weaken them from the inside.
By preventing dampness early, you protect the structural quality of your walls.
Key advantages:
- Reduces formation of cracks and surface damage
- Prevents plaster from weakening or breaking
- Maintains overall structural integrity
- Enhances durability of construction materials
👉 Strong, moisture-free walls remain stable and reliable for a long period, reducing risks of damage.
3. Reduced Maintenance Costs
Ignoring damp issues can lead to repeated repairs, repainting, and increased expenses. However, proper damp prevention before painting helps eliminate these recurring problems.
Instead of spending money again and again on fixing damage, prevention ensures long-term savings.
Cost-saving benefits:
- Eliminates frequent repainting cycles
- Reduces repair and labor costs
- Minimizes damage caused by moisture over time
- Prevents expensive structural fixes
👉 Investing in prevention once is far more economical than continuous maintenance expenses.
4. Improved Indoor Environment
Damp walls not only damage surfaces but also affect indoor air quality and overall comfort. Proper damp prevention before painting plays a crucial role in creating a healthy living environment.
Moisture encourages mold and fungal growth, which can lead to health issues and unpleasant conditions.
Health & comfort benefits:
- Prevents mold and fungus formation
- Eliminates musty and damp odors
- Improves air quality inside the space
- Creates a clean and hygienic environment
👉 Dry and well-maintained walls contribute to a safer and more comfortable living space.
5. Higher Property Value
Properties with well-maintained walls always have a higher market value. Proper damp prevention before painting enhances both the appearance and durability of the property.
Buyers and tenants prefer homes that are free from moisture-related issues.
Value-adding benefits:
- Enhances visual appeal of interiors and exteriors
- Builds trust and confidence among buyers
- Reduces chances of future complaints or repairs
- Increases long-term property durability
👉 Moisture-free walls make your property more attractive, reliable, and valuable.
6. Enhanced Aesthetic Appeal
Dampness can ruin even the most expensive paint or texture finish. Proper damp prevention before painting ensures that the beauty of your walls remains intact.
It allows you to achieve premium finishes without the risk of damage.
Visual benefits:
- Keeps walls clean, fresh, and smooth
- Supports modern finishes like textures and designer coatings
- Prevents stains, patches, and discoloration
- Enhances overall interior design quality
👉 A well-prepared surface ensures a flawless and premium look for any space.
7. Long-Term Protection Against Weather Conditions
Walls are constantly exposed to environmental factors like rain, humidity, and temperature changes. Proper damp prevention before painting acts as a protective barrier against these conditions.
This protection ensures that walls perform consistently throughout different seasons.
Protection benefits:
- Prevents water penetration during rainy seasons
- Protects against humidity-related damage
- Reduces impact of temperature changes
- Maintains wall performance in all climates
👉 Damp prevention works as a shield, protecting walls from environmental stress and damage.
Conclusion
Understanding why walls get damp and how to prevent it before painting is essential for achieving a flawless and durable finish. Dampness is not just a visual issue—it affects the overall health of your walls and living environment.
By identifying the root cause, fixing leaks, applying proper waterproofing, and following the right painting process, you can completely eliminate dampness problems. Proper preparation and preventive measures ensure that your paint not only looks beautiful but also lasts for years.
Investing time and effort in damp prevention is always better than dealing with repeated repairs. A well-prepared wall is the foundation of a perfect paint finish.