Wall paint bubbling is one of the most common and frustrating problems homeowners face. Freshly painted walls start showing raised bubbles, blisters, or air pockets, ruining the finish and reducing paint life. Many people repaint again, but the problem returns because the real cause is not treated.
In this blog, we will explain why wall paint bubbles, how to stop Wall Paint Bubbling, and what correct painting process should be followed to avoid this problem—especially in Indian homes and winter conditions.
What Is Paint Bubbling on Walls?
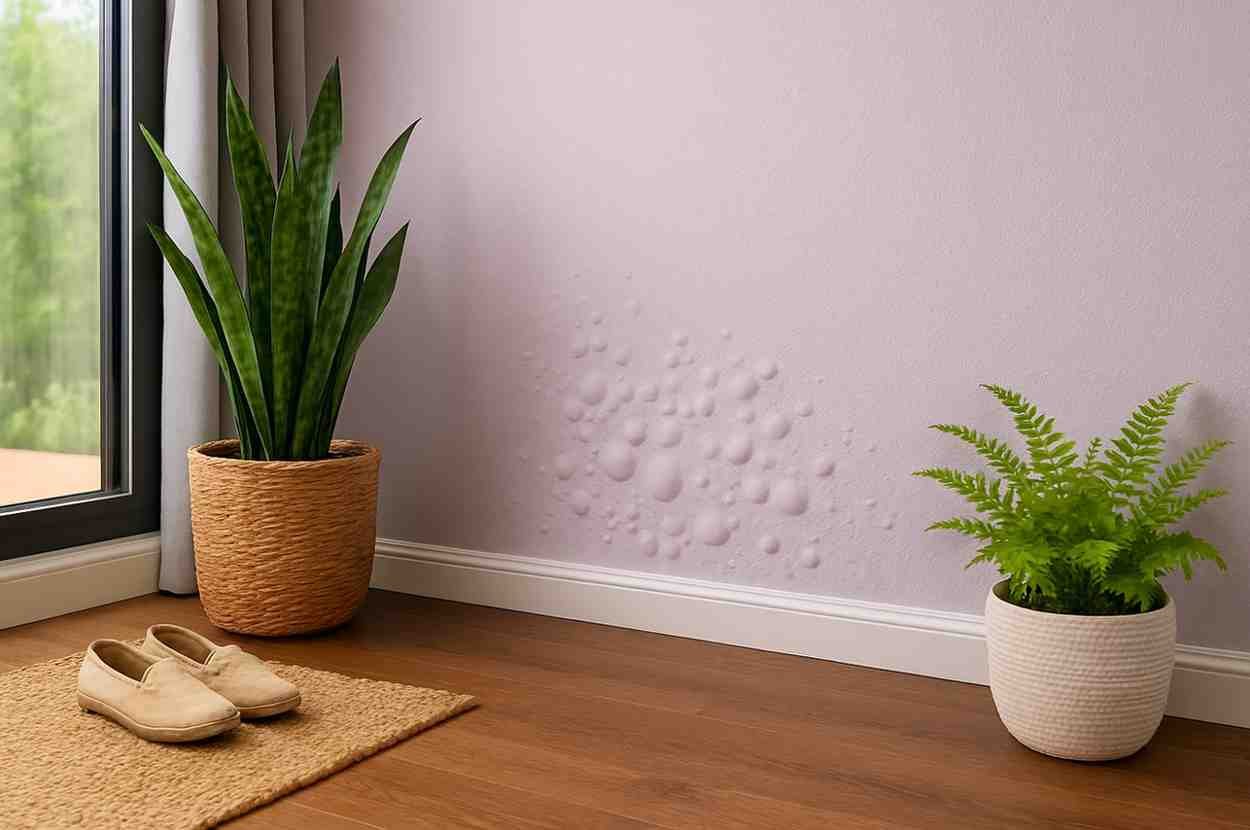
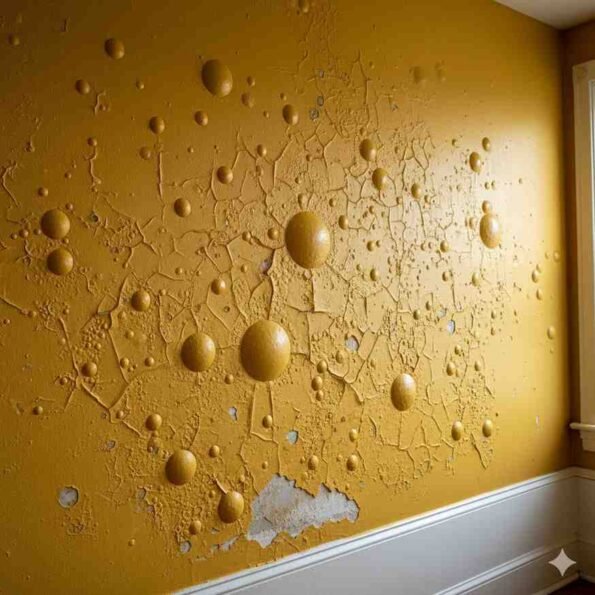
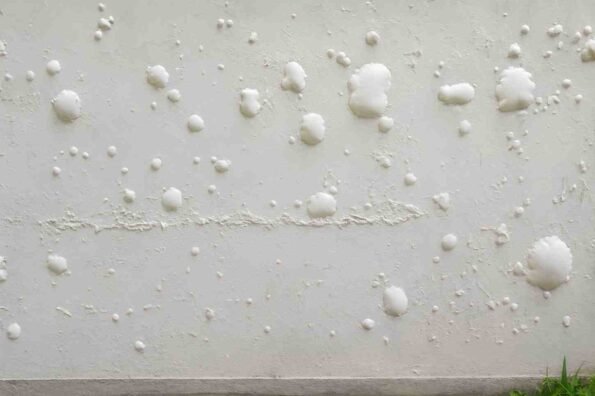
Paint bubbling (also called blistering) happens when air, moisture, or gas gets trapped between the wall surface and the paint film. As temperature changes, the trapped moisture or air expands and pushes the paint outward, forming bubbles.
This issue can occur:
- Soon after painting
- After a few weeks
- Or seasonally, especially in winter or monsoon
Common Causes of Wall Paint Bubbling
Understanding the cause is the most important step to stop paint bubbling.
1. Moisture Inside the Wall (Main Reason)
Moisture is the number one cause of paint bubbling.
Sources of moisture include:
- Wall seepage
- Damp walls
- Condensation in winter
- Leakage from bathrooms or pipes
- Poor waterproofing
When moisture tries to escape, it pushes the paint layer outward, causing bubbles.
👉 Important: Painting over a damp wall will always fail, no matter how expensive the paint is.
2. Painting on a Wet or Damp Surface
Many painters start painting without checking wall dryness.
- Painting immediately after putty application
- Painting after washing walls
- Painting during humid or cold weather
If the wall is not fully dry, trapped moisture causes bubbling later.
3. Poor Surface Preparation
Improper wall preparation leads to poor paint adhesion.
Examples:
- Dusty walls
- Greasy surfaces
- Old peeling paint not removed
- Chalky or powdery surface
Paint cannot bond properly, and bubbles form over time.
4. Skipping Primer or Using Wrong Primer
Primer plays a critical role in paint bonding.
Paint bubbling occurs when:
- No primer is applied
- Primer is diluted incorrectly
- Wrong primer is used for damp walls
Primer seals pores and prevents moisture movement. Without it, bubbling is likely.
5. Low-Quality Paint or Incorrect Thinning
Using poor-quality paint or wrong thinning ratio can weaken the paint film.
Problems include:
- Over-thinning with water
- Using exterior paint inside (or vice versa)
- Cheap paint with low binder content
Weak paint films trap air and moisture, causing bubbles.
6. Painting in Extreme Weather Conditions
Painting during:
- High humidity
- Cold winter mornings
- Very hot afternoons
can cause improper drying. Rapid surface drying with wet layers underneath leads to bubbling.
7. Applying Thick Paint Coats
Applying thick coats may look faster, but it creates problems.
Thick layers:
- Trap moisture
- Dry unevenly
- Form bubbles as inner layers try to escape
How to Stop Wall Paint Bubbling Permanently
Now let’s discuss step-by-step solutions.
Step 1: Identify the Root Cause
Before fixing, ask:
- Is the wall damp?
- Is bubbling near bathroom or exterior wall?
- Does it increase in winter?
If moisture exists, cosmetic repainting will fail.
Step 2: Remove the Bubbling Paint Completely
Do not paint over bubbles.
Process:
- Scrape off all bubbled paint
- Remove loose putty
- Clean the surface properly
- Allow the wall to dry completely
Step 3: Dry the Wall Thoroughly
This step is critical.
Methods:
- Keep the wall open for ventilation
- Use exhaust fans
- Use dehumidifier (if available)
- Wait extra drying time in winter
👉 Walls may look dry on the surface but still hold internal moisture.
Step 4: Fix Moisture Source
Depending on the cause:
- Seepage: Apply waterproofing treatment
- Condensation: Improve ventilation, use moisture-resistant paint
- Leakage: Repair plumbing issues
- Bathroom walls: Use proper waterproof coating before painting
Paint alone cannot stop water problems.
Step 5: Apply the Right Primer
Primer selection matters.
For interior walls:
- Use moisture-resistant interior primer
For damp-prone walls:
- Use damp-seal or anti-moisture primer
Benefits of primer:
- Blocks moisture movement
- Improves paint adhesion
- Increases paint life
- Prevents bubbling and peeling
Step 6: Use Good Quality Putty Correctly
Apply putty only after primer (if recommended by system).
Rules:
- Apply thin layers
- Allow proper drying time
- Sand smoothly
- Do not trap moisture under putty
Step 7: Choose the Right Paint
For moisture-prone areas:
- Use washable, moisture-resistant interior paint
- Avoid low-quality distemper
- Prefer paints with strong binder and breathability
Exterior walls require weather-resistant exterior paint.
Step 8: Follow Correct Painting Conditions
Ideal conditions:
- Dry weather
- Moderate temperature
- Low humidity
- Proper ventilation
Avoid painting:
- Early winter mornings
- During rain or fog
- On cold, damp walls
Step 9: Apply Thin, Even Coats
- Apply 2 thin coats instead of 1 thick coat
- Allow proper drying time between coats
- Follow manufacturer recommendations
This ensures uniform drying and strong bonding.
How to Fix Already Bubbled Paint (Quick Guide)
If bubbling has already occurred:
- Scrape damaged paint
- Dry wall completely
- Treat moisture problem
- Apply primer
- Re-putty if required
- Repaint with correct paint system
Can Waterproof Paint Stop Bubbling?
Waterproof paint helps only when moisture source is controlled.
- Waterproof paint alone is not a solution
- It works best as part of a complete system
- Internal moisture must be stopped first
Why Paint Bubbling Is Common in Indian Homes
- High humidity
- Seasonal temperature changes
- Poor ventilation
- Fast construction methods
- Rushed painting jobs
That’s why process matters more than paint brand.
Professional Tips to Avoid Paint Bubbling
- Never rush drying time
- Always check wall moisture
- Use primer without compromise
- Educate painters about correct systems
- Follow manufacturer guidelines strictly
Conclusion
Wall paint bubbling is not just a paint defect—it is a surface and moisture management issue. Repainting again and again without treating the root cause will only waste money.
By:
- Controlling moisture
- Preparing the surface properly
- Using the right primer and paint
- Painting under correct conditions
you can permanently stop wall paint bubbling and enjoy long-lasting, beautiful walls.