Introduction
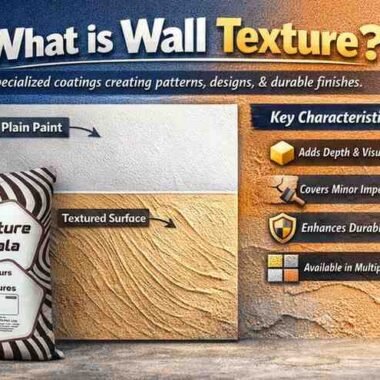
Wall textures have become an essential part of modern interior and exterior design. They add depth, character, and a premium feel that plain paint cannot achieve. Whether you want a stylish living room, a feature wall, or a durable exterior surface, textures offer both beauty and performance.
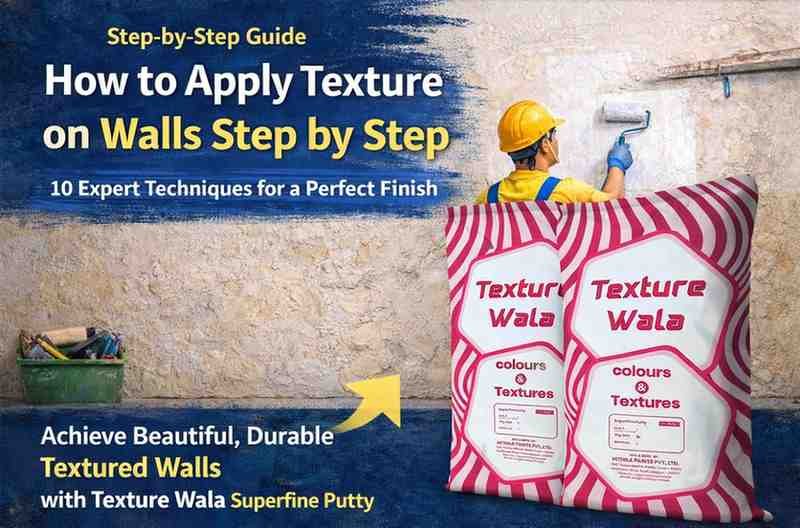
Understanding how to apply texture on walls step by step is important to achieve professional results. Without proper technique and preparation, even the best materials may fail to deliver the desired finish.
Step 1: Surface Inspection
Surface inspection may seem like a basic step, but it plays a crucial role in ensuring a strong and long-lasting texture application.
Check for cracks:
Cracks in the wall can weaken the texture layer and may lead to future damage. They also allow moisture to enter, which affects durability.
Check for dampness:
Applying texture on a damp surface can cause peeling and poor adhesion. Always ensure the wall is completely dry.
Check for uneven surface:
An uneven wall can distort the texture design and make the finish look unprofessional.
👉 A strong and clean base is the foundation of a perfect texture finish.
Step 2: Surface Preparation
Proper surface preparation is one of the most important steps in the entire process.
Clean the wall surface:
Dust, grease, and dirt can prevent proper bonding. Cleaning improves adhesion and ensures better results.
Remove old paint:
Loose or flaking paint should be removed to avoid weak spots in the new texture.
Repair damaged areas:
Cracks, holes, and imperfections must be filled to achieve a smooth finish.
Apply wall putty:
Putty helps in leveling the surface and creates a smooth base for texture application.
Sanding:
Sanding removes roughness and makes the surface even.
👉 Proper preparation ensures long-lasting and high-quality results.
Step 3: Apply Primer
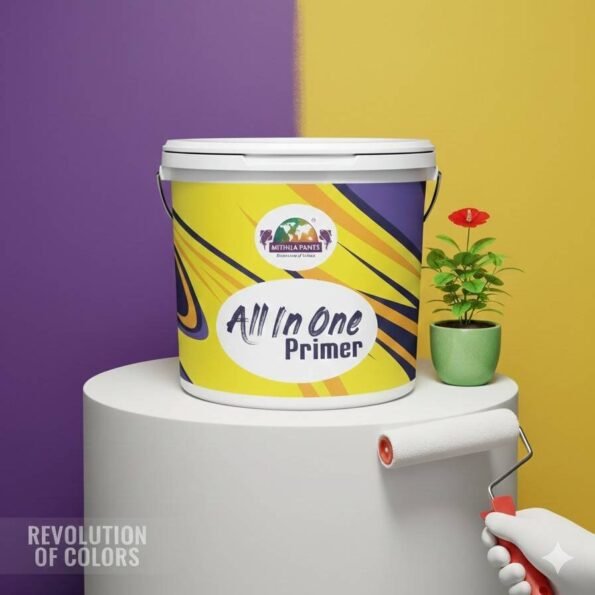
Primer is an essential step that should never be skipped.
Improves adhesion:
It helps the texture stick properly to the wall.
Controls absorption:
Walls tend to absorb moisture, and primer helps regulate this.
Prevents patchiness:
It ensures uniform application and finish.
👉 Primer acts as a bonding layer between the wall and texture.
Step 4: Mixing the Texture Material
Correct mixing is important for achieving the desired finish.
Maintain proper ratio:
Too much or too little water can affect consistency.
Avoid lumps:
Lumps in the mixture can create uneven patches.
Ensure smooth consistency:
A well-mixed material spreads evenly and gives a better finish.
👉 Proper mixing leads to smooth and professional results.
Step 5: Base Coat Application
A base coat prepares the wall for the final texture.
Creates an even surface:
It ensures uniform texture application.
Enhances final appearance:
The texture design looks more defined on a proper base.
👉 A good base coat improves the overall finish quality.
Step 6: Applying Texture on Wall
This is the main step where the texture is applied.
Using a trowel:
Provides better control for manual textures.
Using a roller:
A quick and easy method, ideal for beginners.
Using a spray:
Gives a professional and uniform finish.
Maintain proper thickness:
Too thick may crack, too thin may not be effective.
👉 Consistency in application is key to achieving a professional look.
Step 7: Creating Patterns and Designs
This step adds creativity and uniqueness to the wall.
Circular patterns:
Provide a soft and modern appearance.
Vertical or horizontal lines:
Give a clean and elegant look.
Sponge effect:
Creates a natural and random texture.
Comb patterns:
Offer a structured and stylish design.
👉 Creative patterns enhance the overall visual appeal.
Step 8: Drying Time
Drying is a critical step that should not be rushed.
Allow proper drying:
Touching the surface early can ruin the texture.
Avoid moisture exposure:
Moisture during drying can weaken the finish.
Ensure ventilation:
Good airflow helps in faster and even drying.
👉 Patience during drying ensures a flawless finish.
Step 9: Finishing Coat
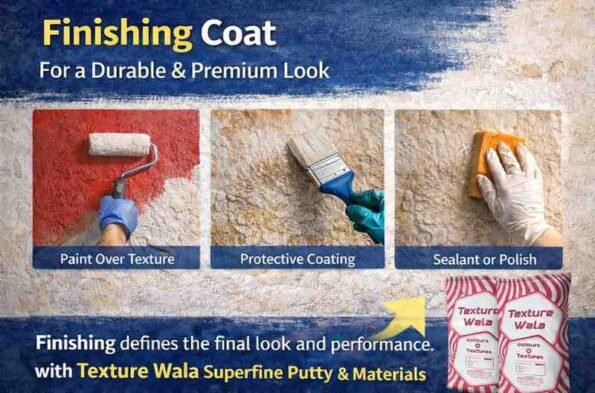
The finishing coat enhances durability and appearance.
Paint over texture:
Adds color and highlights the design.
Protective coating:
Increases resistance to damage.
Sealant or polish:
Provides a premium and long-lasting finish.
👉 Finishing defines the final look and performance.
Step 10: Final Inspection
Final inspection ensures quality and perfection.
Check uniformity:
The texture should look consistent across the wall.
Check for cracks or defects:
Fix any issues immediately.
Check overall finish:
Ensure smooth and clean results.
👉 Final inspection guarantees a professional outcome.
Common Mistakes to Avoid
Avoiding these mistakes ensures better results:
- Skipping surface preparation
- Applying texture on damp walls
- Not using primer
- Uneven application
- Ignoring drying time
👉 Avoiding mistakes is key to achieving a perfect finish.
Tips for Best Results (Enhanced Version)
Achieving a perfect wall texture finish is not just about applying material—it’s about following the right approach with precision, patience, and proper technique. These expert tips will help you get a smooth, durable, and premium-quality result.
Use High-Quality Materials
The quality of materials plays a major role in the final outcome.
- Better adhesion and long-lasting performance
- Improved resistance to moisture and weather
- Rich and consistent finish
👉 High-quality materials ensure that your texture remains strong, attractive, and durable for years.
Choose the Right Tools
Using the correct tools directly affects the texture design and application quality.
- Trowels for detailed and manual textures
- Rollers for quick and uniform application
- Spray tools for professional and smooth finish
👉 The right tools help you achieve better control, consistency, and a cleaner finish.
Follow Proper Steps
Skipping or rushing steps can lead to poor results and reduced durability.
- Proper surface preparation ensures strong bonding
- Primer improves adhesion and prevents patchiness
- Correct application technique ensures uniform texture
👉 Following the complete process step by step guarantees a professional outcome.
Maintain Design Consistency
Consistency in design is key to achieving a premium look.
- Uneven patterns can make the wall look messy
- Consistent strokes create a uniform appearance
- Balanced design enhances visual appeal
👉 A consistent pattern gives your wall a clean and professional finish.
Take Enough Time for Each Step
Rushing the process is one of the biggest mistakes.
- Proper drying time improves durability
- Careful application avoids defects
- Patience ensures better finishing quality
👉 Giving enough time to each step results in a flawless and long-lasting texture.
Conclusion
Understanding how to apply texture on walls step by step is essential for achieving a perfect wall finish. Each step—from preparation to finishing—plays an important role in ensuring durability, strength, and visual appeal.
A well-applied texture not only enhances the beauty of your space but also increases the lifespan of your walls. By following the right process and avoiding common mistakes, you can achieve professional-quality results that last for years.